 Continuing our series from Return to Fitness. Previous parts here:
Return to Fitness: Introduction, Bike Fit
Return to Fitness: Saddle (Butt), Knees & Feet
Return to Fitness: Hands, Neck & Shoulders, Back
Return To Fitness: Climbing
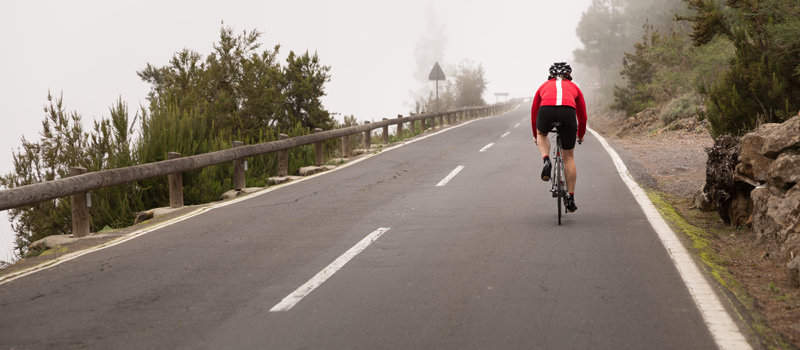
Lesson number one: Stay seated as you grind up a long hill. Avoid the desire to stand up and mash each pedal downward, stroke after stroke, until the hill’s crest is reached. You will probably tire and be forced to stop long before you reach the top. You want to stay aerobic, not anaerobic, and to do that, you want to maintain a high enough cadence. Keep the butt glued to the saddle and try to recruit your gluteal muscles for additional power.
If you must stand up, learn to use your upper body to assist in each pedaling stroke. To do this, you will need to employ some side-to-side rocking motion. As you start the downward stroke, tilt the bike away from the foot making the stroke. Keep your body in a straight line over the weighted foot. Lean forward on the handlebars to deliver even more power, but keep your elbows relaxed. As the weighted foot finishes its stroke, shift your weight to the opposite foot and repeat the process.
Climbing dirt hills is different from going up paved ones. What happens is that the rear tire can start to slip due to a loss of traction. Don’t stand up, since this places your body weight too far forward. Instead simply scoot back your rear end on the seat. Yet with all the weight concentrating on the rear, the bike’s front wheel will have a tendency to lift off the ground. All of a sudden, you’re doing a wheelie. The trailside secret, then, is to keep your weight balanced— lean your torso forward as you move your rear end back. Also keep your head up, since this will lower your center of gravity and distribute your weight evenly across the bike.
On steep sections, don’t wait until you can barely pedal before shifting into a lower gear. Chances are, the chain will fall off and you will have to get off and walk.
Finally, try to maintain a good line. You shouldn’t be looking right at the ground by your front wheel, but keep your gaze to about ten or fifteen feet up the trail. This will give you enough time to look out for obstacles. But yanking the handlebars back and forth to bypass an obstacle might cause you to lose balance and the bike to wobble out of control. Like Alex told me, think of the wheels as a stream passing over any obstacles. Obviously, big rocks and large, exposed tree roots will stop you right in your tracks, so the best option is to dismount or ride around them.
Return To Fitness: Descending
Cyclists can be divided into two groups: those who love blasting down descents and those who are cautious by nature and approach downhills with a mixture of dread and apprehension. “Over many years of teaching cycling skills, I’ve found that going downhill is one of the hardest things for new cyclists to get used to,” says bike coach Alex Stieda on Bicycling.com. Stieda raced in the Tour de France, with the 7-Eleven team in 1986. Why the fear? “The reason is simple: Speed scares people. There are even some pros who don’t descend correctly, because they’re either nervous or don’t practice it enough. Personally, I live for carving turns on a descent.”
Stieda offered these suggestions for the gravity-challenged on road bikes:
- Keep your hands in the drops—the lower part of the handlebars— since this will force your center of gravity to be nearer to the ground, “like a racecar.” Having your weight more evenly distributed between the front and rear wheels helps maintain traction between the tires and road.
- Look ahead, so you can have enough time to react if there’s a pothole or debris in the road.
- Avoid sudden braking; instead lightly “squeeze both levers equally with two- to three-second pulses. Constantly riding the brakes on big descents can make rims overheat—and possibly cause a blowout.”
Cornering is where most cyclists run into a brick wall of terror. “It’s the biggest mistake people make descending,” continues Stieda. “They wait until they’re in the middle of a turn to brake. If you have to brake in the turn, you didn’t slow enough to begin with. Then, push your outside pedal down (right turn, left foot down) with pressure on that foot. To initiate the turn, lean the bike—not your body—into the turn (right turn, lean bike right). The faster and sharper the turn, the more you’ll lean the bike. This action is similar to downhill skiing.”
Descending hills on a mountain bike offers challenges of a different sort. Just like with road cycling, choose a line. Unfortunately, tree roots and deep ruts can snag a wheel. Hence you need to have good braking skills—but go easy on the front brake, since too much pressure will catapult you right over the handlebars.
For correct body English, keep your butt back to help balance the bike. Stay low, or maintain your body close to the bike. You don’t want to be sitting upright. And while front or rear suspension systems may absorb the bumps and bounces, you can use your legs and arms as shock absorbers.
Personally, I’d rather prove my courage and mettle on uphills rather than downhills. (I obviously belong to the cautious camp.) There is nothing wrong with this preference. Speed was something I cherished during my younger riding days. I remember once getting up to forty-six miles per hour on a mile long descent in Berkeley’s Tilden Park. The front end of my road bike shimmied and went all squirrelly, but I pumped my legs harder. I wanted to go even faster and hit fifty. I loved the rush, the scary dance on danger’s tightrope. Fortunately, I never took a spill during these solo road-warrior contests. Now that I was biking again, I knew that I wouldn’t tempt fate like that on my ride. My goals changed. I rode slower, saner, more carefully. I was just happy to be riding—and I didn’t want anything to interfere with this newfound feeling.

